How to Create a Black & White Image in Photoshop (Part 2)

Taking Your Black and White to the Next Level

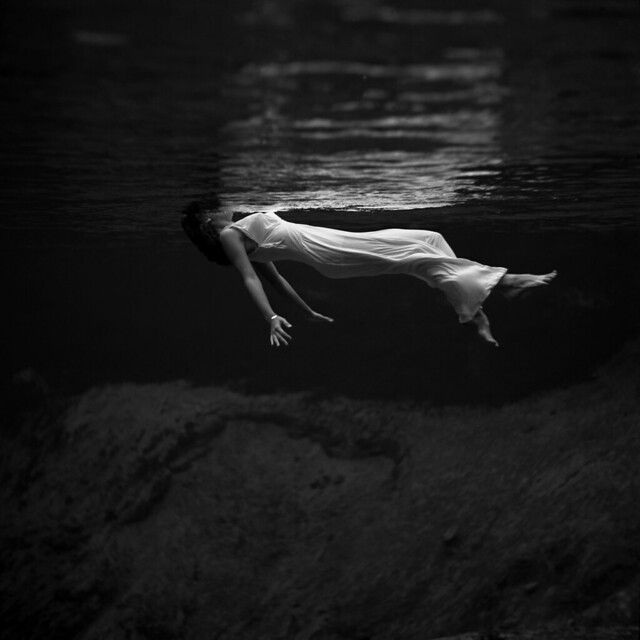
In today’s episode you will learn how to use Curves to take control of your black and white. We use show you how to analyze your histogram and use input and output channels to dial in your light and dark levels.

After fine tuning the image with Curves, we use channels to select lighter areas of the photo and fill them with white to bring extra attention their way.

We finish the image off by creating a light leak type effect and transforming it onto our subject.

If you thought this episode was great our “Pro Tutorials” are about 10 times better, more in-depth detailed information, and are priced perfectly for the photographers and photoshoppers wanting to become the best. Of course we teach it the right way, you just have to get access to the lesson check out http://phlearn.com/pro-tutorials.

Make sure to subscribe to our Youtube channel for great videos, hangout with us on Google+, like us on Facebook, chat on Twitter, and capture moments on Instagram. All of our accounts have something fun to offer.

Photo Credit: http://bit.ly/1heJhA1

Phlearn Accounts
Website: http://phlearn.com
Youtube: https://www.youtube.com/channel/UC47XN5bhLTBH5TRFyKaUpKg
Facebook: https://www.facebook.com/Phlearn
Twitter: https://twitter.com/phlearn
Google+: https://plus.google.com/u/0/116791098…
Instagram: https://instagram.com/phlearn

How to Create a Black & White Image In Photoshop (Part 1)

Creating a Black and White Photo

In this episode you will learn 3 different methods for creating a black and white image in Photoshop as well as the pros and cons of each.

We start off with the most simple approach to creating a black and white – desaturate. To desaturate an image, make a stamp visible layer by hitting Ctrl+Optn+Cmd+E and go to image-adjustments-desaturate or press Shift+Cmd+U. This is the fastest way to turn an image black and white but lacks the control of other methods.

Next we use the Black and White adjustment layer which will allow you to adjust the brightness of your image based on color, for instance you can make the reds lighter and the blues darker.

The final method we use is the Channel Mixer, appropriate for when you want to create an image with a ton of contrast.

Additional Effects
After we turn our image black and white we apply a field blur to draw more focus to the subject’s face and top it off with a little grain to make the blur a bit more realistic.
If you thought this episode was great our “Pro Tutorials” are about 10 times better, more in-depth detailed information, and are priced perfectly for the photographers and photoshoppers wanting to become the best. Of course we teach it the right way, you just have to get access to the lesson check out http://phlearn.com/pro-tutorials.

Make sure to subscribe to our Youtube channel for great videos, hangout with us on Google+, like us on Facebook, chat on Twitter, and capture moments on Instagram. All of our accounts have something fun to offer.

Photo Credit:

Black & White Zinnia Wallpaper

Black and White Birds

Black and White... sleeping

http://www.flickr.com/photos/agnihot/8290952741/

Toni Frissell: Weeki Wachee spring, Florida, 1947

Phlearn Accounts
Website: http://phlearn.com
Youtube: https://www.youtube.com/channel/UC47XN5bhLTBH5TRFyKaUpKg
Facebook: https://www.facebook.com/Phlearn
Twitter: https://twitter.com/phlearn
Google+: https://plus.google.com/u/0/116791098…
Instagram: https://instagram.com/phlearn

Photoshop Tutorial: How to Transform a Photo into a Classic Instagram

Photoshop CC tutorial showing how to quickly transform a photograph into a classic-looking, Instagram image.

Click below to SUBSCRIBE!
http://www.youtube.com/subscription_center?add_user=bluelightningtv

Click below for BLTV’s WEBSITE!
http://www.bluelightningtv.com/

Twitter: https://twitter.com/BlueLightningTV

Get up to 20% off Photoshop + Lightroom! Only $7.99 p/month:
http://goo.gl/QFznn7